Curating a Mindset
Making space, realigning priorities and crafting kits
After a period of deep reflection, I've realized that while consistency is often linked to 'Substack success,' (what is that, even?) I started this newsletter to share my thoughts when I have something meaningful to say. Recently, I've lacked the motivation to write and struggled between being consistent and staying authentic. I don't have a definitive solution to the problem yet, but for now I've decided not to turn this newsletter into another job.
Yesterday I was clever, so I wanted to change the world. Today I am wise, so I am changing myself .
- Rumi
So I have decided to write when inspiration strikes and when I have something truly interesting to share. My aim is to avoid adding to the overwhelming digital clutter we don't really need.
Disclaimer : Bird Droppings does not pretend to be an expert in any of the topics mentioned below (except for somethings). Past performance is not indicative of future results. Bird Droppings does not take responsibility of any positive/negative side effects that may arise from the overload of positive creative inspiration below.
Consume at your own risk.
With that being said, today I wanted to share another toolkit!
I showed a glimpse of this kit in my previous newsletter issue but to recap - it was created as a solution to combat inertia on unproductive days.
A curated kit gathers all the necessary materials for a specific task, saving mental energy on sourcing supplies. In this post, I discussed a micro watercolor kit within this larger toolkit.
The featured kit in todays newsletter remains on my desk, providing easy access to my drawing supplies. As I designed it, I focused on three factors:
Ease of use: I opted for a simple wooden box that fits my studio needs, making it effortless to store items.
Ensuring tool safety: To keep my tools secure and organized, I lined the interior with leather and added elastic inserts for each item. Everything has its own designated place.
A visually appealing setup that evokes joy: aesthetics matter, and I wanted my tools to inspire me daily.
In the end, I’m pretty proud of how it turned out! It was a basic wooden box from Amazon - Here’s the link in case you want to check it out. I wanted it to look like it came out of an antique closet - so, I stained it, sanded it and then waxed it up!
This is how the box looks unopened!
And then you open it up and TADA! The upper section stores all my drawing and writing instruments. After lining the interior with leather, the elastic bands hold the tools in space, so they don’t scratch each other. It also makes use of space in an efficient way.
The bottom part of the case holds my watercolor supplies, an exercise band that I use as a rag cloth for absorbing water, cotton buds, a sharpener and other small accessories.
I love this brass sharpener that my husband raises his eyebrows at every-time I use it. He does not seem to understand why a sharpener needs to be so expensive, but what does he know about the art of sharpening pencils?
The portable watercolor kit that I made from a brass business case. Full process detailed here!
This super cool, really slim but very sharp knife that I sometimes use to sharpen my pencil to a specific point.
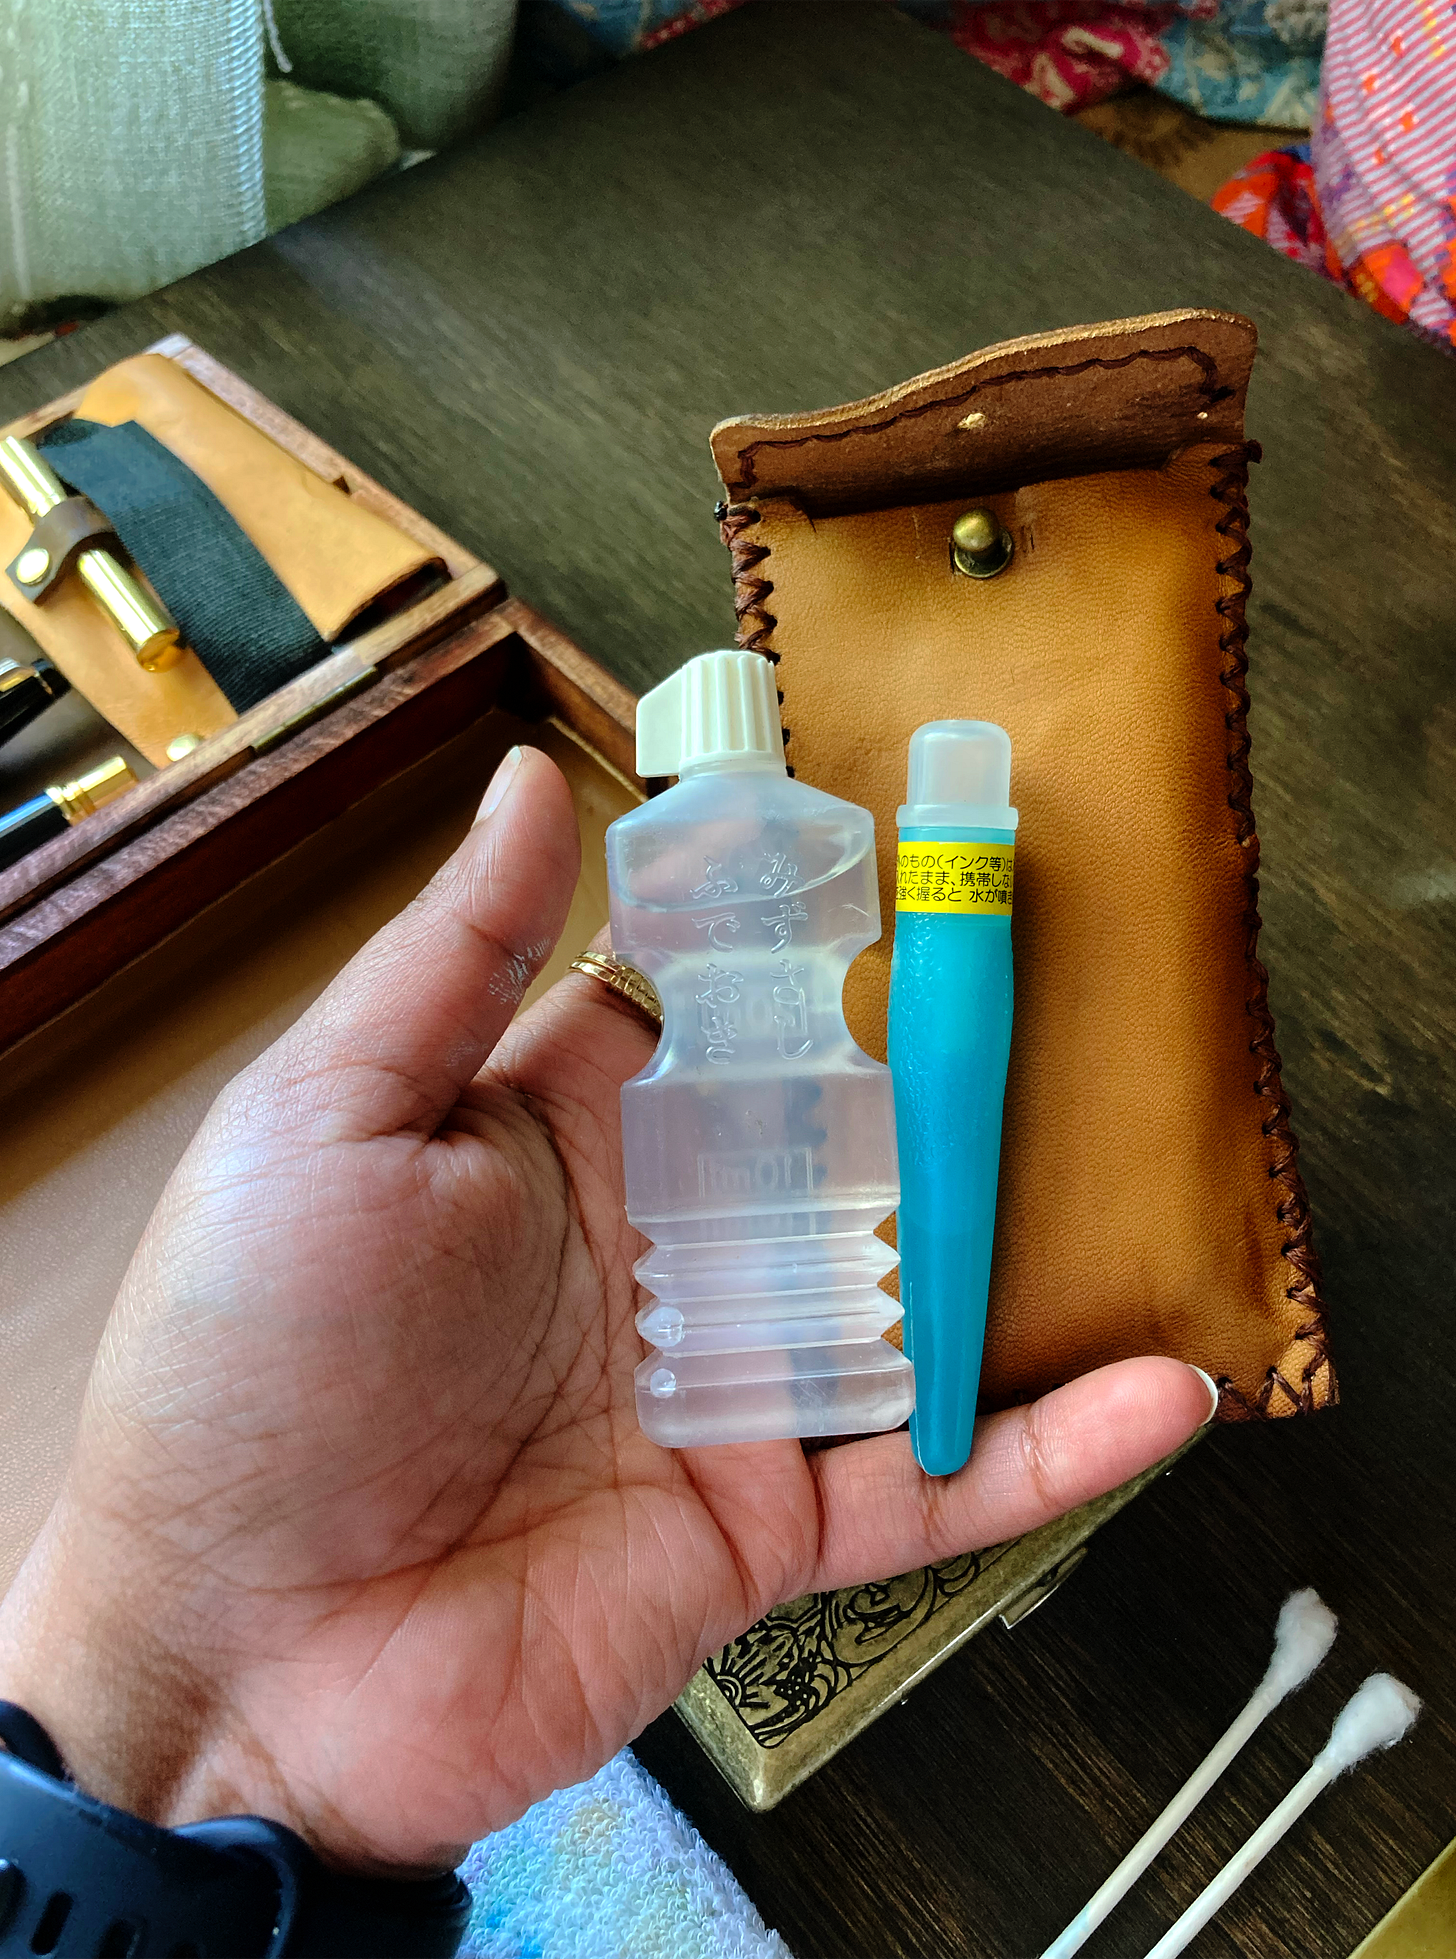
This pouch that I made with some scrap leather to hold a tiny water bottle and water brush.
True, if I am at home, I can always get water readily, but these are for the days when walking to the sink is too much effort.
Also if you think someone else might enjoy this article, feel free to share it!
A close-up of my pencils and lead holders : From the right
Portable Water Brush
Pilot Elite e95 Vintage fountain pen with flexible sf nib (inked with De Atramentis Document brown waterproof ink)
On the other side, is a little pouch that holds extra leads, and a lead sharpener. Oh, and a tiny stapler!
I’m pretty proud that I found a way to store the lead and stapler in a discreet way underneath the pouch! I used a Japanese button stud to attach another piece of leather into the existing frame and it provided just enough space for the remaining small knick knacks I needed space for.
I made an additional holder for the lead sharpener and et voila - I was done!
So here is how everything sits inside of it as a whole. The velcro straps where already present in the box and I did not go to the trouble of removing it cause it provided some additional reinforcement.
I added a name plate just to make it truly non-standard and added a very ‘standard’ name but it makes me smile when I look at it!
Alright so that’s it for this week! I’ll be in touch soon! Keep a look-out in your inbox!
Also, tell me what you think about my toolkit! Do you have similar kits? How do you store your most needed supplies?


